Here's some guidance regarding using the studio.
Equipment - The list here is broken up into 2 sections the first part is a minimal approach and the second section is my recommended full list and the third section is for 'Hardcore' serious students that are seriously interested in learning Studio lighting techniques.
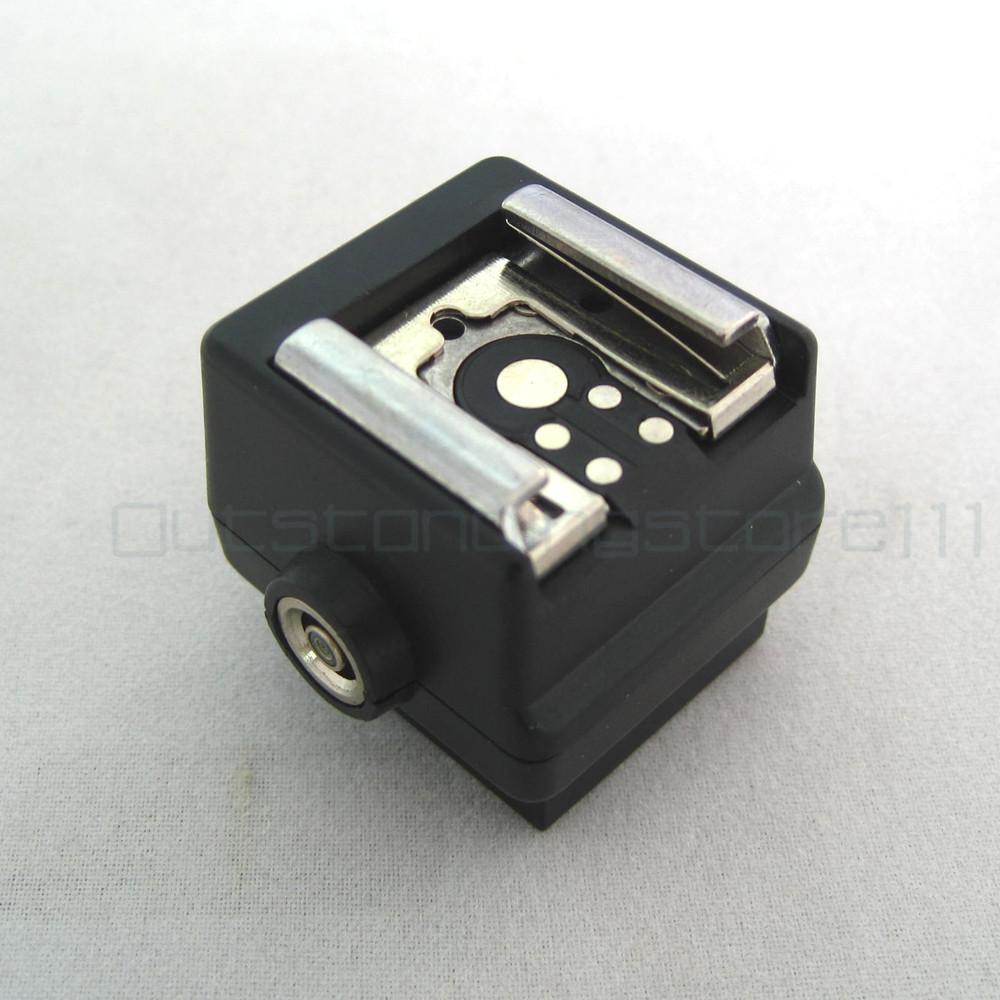
- Hot shoe adapter
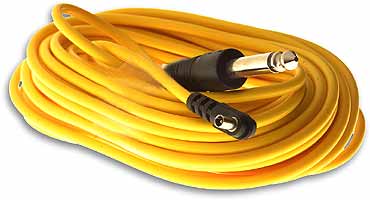
- Sync lead x 2
- Sekonic L308 light meter
- Tripod adapter
- Tripod
- Camera
- Lens with focal length of 55mm or longer
- Lens Hood
- Separate Slave (Wein)
- Extension cable (Sync)
- Extension cable (electric)
- Gaffer/Duct tape
- Masking tape
- Market Clips
- Modelling knife/scalpel
- String
- Tool box - Pliers, wire, screws, blue tac, string, fishing wire, a range of tapes, long nose pliers, nails, bulldog clips, crocodile clips, pegs, drawing pins,
Work in Progress Sekonic L308 flash/light meter.


Basic set up in the studio.
You need to set your camera up ready so that it's configured for studio use...
Set your camera to Manual
Set your ISO to 100
Set your white balance to Flash
Use a focal length between 55mm - 70mm (DSLR)
Set your shutter speed to 1/125 (DSLR)
Consider using Manual focus
Fit the Hotshoe adapter
Now configure the Flash Meter for use in the studio...
1. Set the Invacone so that it is in the position as in the image above (e.g. covering the sensor). The invacone is the white dome on the front of the flash meter.
Starting at the top of the meter - press the power button and the LCD display will come on.
2. "Mode" By pressing the mode button you will see the that the 3 symbols next to the battery power symbol (Top left of the display) are highlighted by a box appearing around them when they are selected. Select the 'Flash Cord' mode e.g the one with the flash symbol and the letter C.
3. "ISO" On the front of the meter is the ISO button, press this and hold it down whilst pressing the 'Up' and 'Down' arrows on the side of the meter. You'll see that the number next to the word ISO on the front right hand side of the display changes, this will need to be set so that it corresponds with your cameras ISO e.g. 100.
4. "Shutter Speed"; Using only the Up and Down buttons on the side of the meter watch the number next to the T symbol on the left hand side of the display. Adjust these numbers so that they are set to the same shutter speed as your camera e.g in this instance 125.
The meter is now calibrated and ready to go in conjunction with your camera being set up per the instructions above.
Once you've done this, arrange your lights in the manner you desire. Then using the flash meter, make an 'Incident' light-reading. (With white dome in place).
Plug the synch lead into the hotshoe adapter and the flash unit/head...

The Measurement of the light
The basic principle is - you measure the light that is falling onto the subject. This is the "primary" light source, you may introduce additional lights at different stages and the light readings will become more complex. So, in the first instance use one light and take a reading for that scenario.
Hold the light meter close to a key element of the subject. In the example above, it's a portrait, so the light reading is primarily for the face. Therefore hold the light meter almost touching the face (if not actually touching the face) and press the trigger button on the side of the meter at the top. This will trigger the flash and the light meter will register a light reading in the LCD panel next to the F (Largest number in the display). This will be the light reading measured in aperture values F2, F2.8, F4, F5.6, F8, F16 etc.
At this point you make a decision as to what aperture you want to use. Do you want limited minimal depth of field or maximum depth of field? Normally with a portrait, you want as much of the person in focus, so you would normally opt for an aperture of F8 or F11. These are also normally selected because your lens works best at these settings.
Get your assistant now to make the adjustments to the power output of the flash head, whilst you make the light readings.
Using the dials on the side of the flash unit, your assistant makes adjustments either increasing or decreasing the power output. Each time they make an adjustment...
"Increase the power by 1 stop" They should dump the charge manually via the discharge button on the flash head before you make the next measurement. You make these adjustments until you get the required light output that you're after say for instance F11 (Which will be displayed as the F number on the LCD panel on the flash meter).
Warning - You have to ensure the reading is correct, the F number is recorded in whole values e.g f 8 and 1/10th values e.g. f 83. It is important that you are aware of these tenth values and that you adjust the lights accordingly and you're advised to work with whole values when you're learning the basics.
Don't stand in front of the light when you're measuring the light.
Once you adjusted the lights and they're giving you your reading of F8 and you've checked it, the model will have to stay in that light zone, if they move closer or further away the light reading will change because of Inverse Square Law. Keep control of your models make sure they stay on the same plane of focus, make a mark on the floor and ensure they stay in that zone. If they have to move around you will have to adjust the lights again.
Now set your camera to F8 and away you go!
No comments:
Post a Comment